Add animations to your React projects using LottieFiles
Learn how to add awesome and lightweight animations to your react project using LottieFiles
Introduction
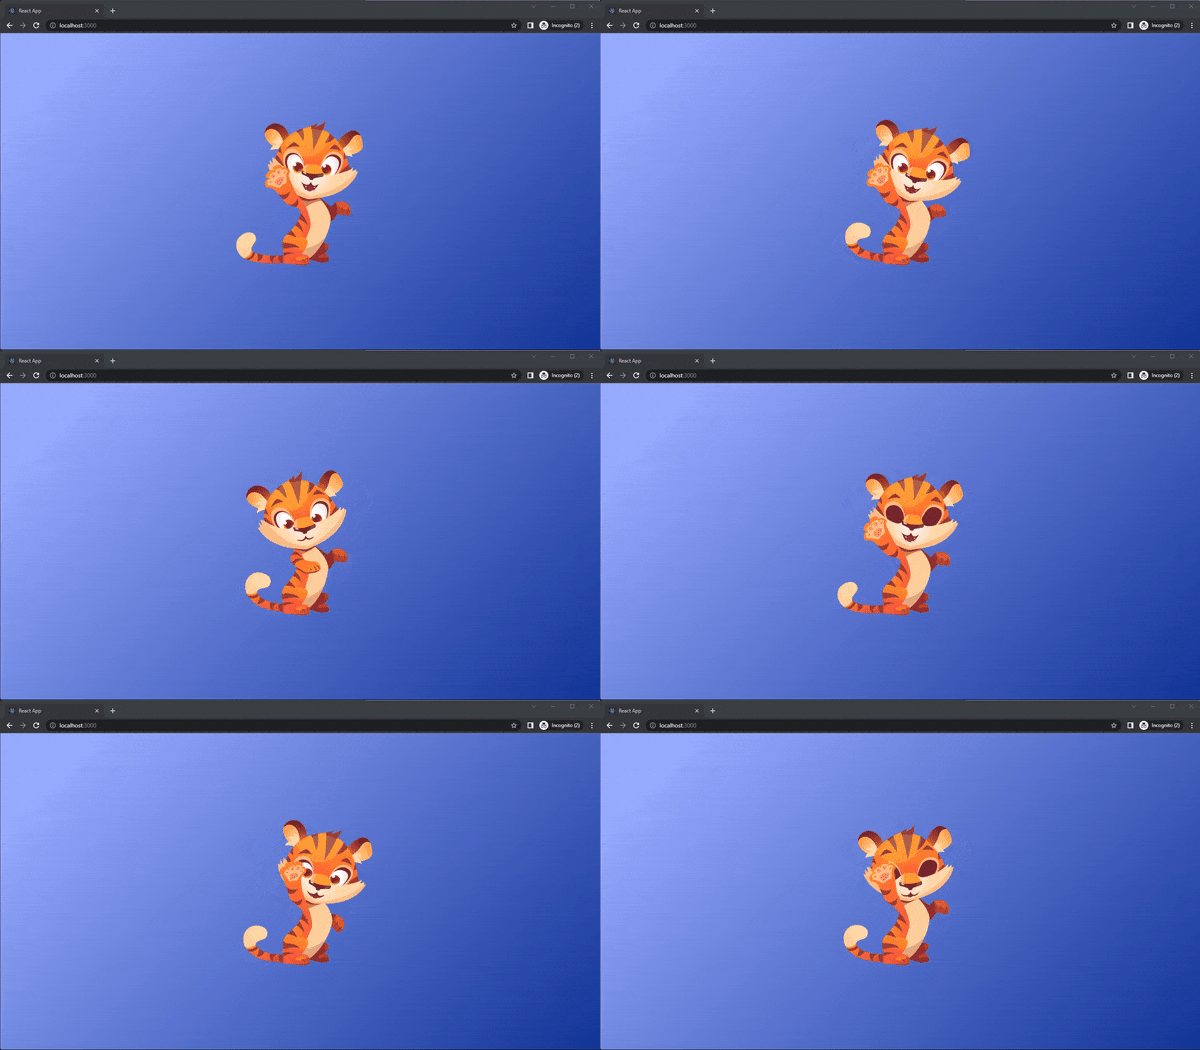
In this article, we are going to use LottieFiles to add some awesome animations to our React project. Here is what we are going to build 👇

LottieFiles is an incredible platform which provides us with thousands of high quality free-to-use animations. If this sounds cool to you, Lets get started !
Get started
In order to make this tutorial easier for you, I've prepared a CodeSandbox. Open this CodeSandbox and then open src/index.js :
// src/index.js
import { StrictMode } from "react";
import { createRoot } from "react-dom/client";
import "./index.css";

import App from "./starter/App";

// UNCOMMENT THIS TO SEE THE FINAL VERSION 😺
// import App from "./final/App";

const rootElement = document.getElementById("root");
const root = createRoot(rootElement);

root.render(
  <StrictMode>
    <App />
  </StrictMode>
);
To follow along, you can write codes in the src/starter/App.jsx. And in case you get stuck or you just want to see the final version, you can uncomment the import App from "./final/App"; in the src/index.js and Boom ! This way you can easily switch between the starter version and final version.
In case you want you use your own React app, you need to add LottieFiles to your project by running
npm i react-lottie. In case you encounter any weird errors, just runnpm i react-lottie --legacy-peer-deps
Adding a Lottie to the project
Now that we have our React app up and running, we can add a Lottie animation to our project. I've already put a Lottie animation in the project, open up the CodeSandbox and you'll see lottie.json file in the src directory.
In case you want to use your own Lottie animation, follow the following step :
- Create a new free account at LottieFiles.
- Select any free animation you like.
- Click on the download button and then select Lottie JSON to download the animation as a JSON file.
- Add the downloaded JSON file to the project and replace it with the existing one.
Now, In order to show the Lottie animation on the screen, We need to pass the JSON file to the Lottie component. Open up src/starter/App.jsx and replace its content with the following code :
// src/starter/App.jsx
import Lottie from "react-lottie";
import animationData from "../lottie.json";

export default function App() {
  const defaultOptions = {
    loop: true,
    autoplay: true,
    animationData: animationData,
    rendererSettings: {
      preserveAspectRatio: "xMidYMid slice",
    },
  };

  return (
    <div>
      <Lottie options={defaultOptions} height={400} width={400} />
    </div>
  );
}
As you can see, we imported Lottie from the installed package, and animationData from the animation JSON file. Then we created an object which holds the animations configurations and finally we passed these configurations to the Lottie component. Now you should be able to see the animation on your browser !
How easy was that ?! Now you can add some awesome animations to your apps and make them look so much better !
Now that we know how to add a Lottie animation to our project, I want to go a little bit further and create a custom and reusable React component to handle our animations.
Creating a reusable component
Create a new file at src/starter and call it Animation.jsx, then copy and paste the following code inside it :
// src/starter/Animation.jsx

import React from "react";
import Lottie from "react-lottie";

export const Animation = ({
  animationData,
  loop = true,
  autoplay = true,
  height = 400,
  width = 400
}) => {
  const defaultOptions = {
    loop: loop,
    autoplay: autoplay,
    animationData: animationData,
    rendererSettings: {
      preserveAspectRatio: "xMidYMid slice"
    }
  };
  return <Lottie options={defaultOptions} height={height} width={width} />;
};
Now we have have component which receives the configurations as props. We've declared default values for each props ( except animationData ) and if the user of this component doesn't provide values for these props, the component will use the default values. We also receive the animationData as a prop and then we pass it to the Lottie component.
Lets refactor our App.jsx and use our custom component instead :
// src/starter/App.jsx
import { Animation } from "./Animation";
import animationData from "../lottie.json";

export default function App() {
  return (
    <div>
      <Animation animationData={animationData} />
    </div>
  );
}
Now our App.jsx looks so much cleaner, and also we have custom Animation component which we can use to show different animations in our entire app ! how cool is that ?
Conclusion
Thanks for reading this article ! Now you can easily build so many cool projects with the help of LottieFiles 😍
Also if you get stuck or you have any questions, feel free to DM me at Twitter
